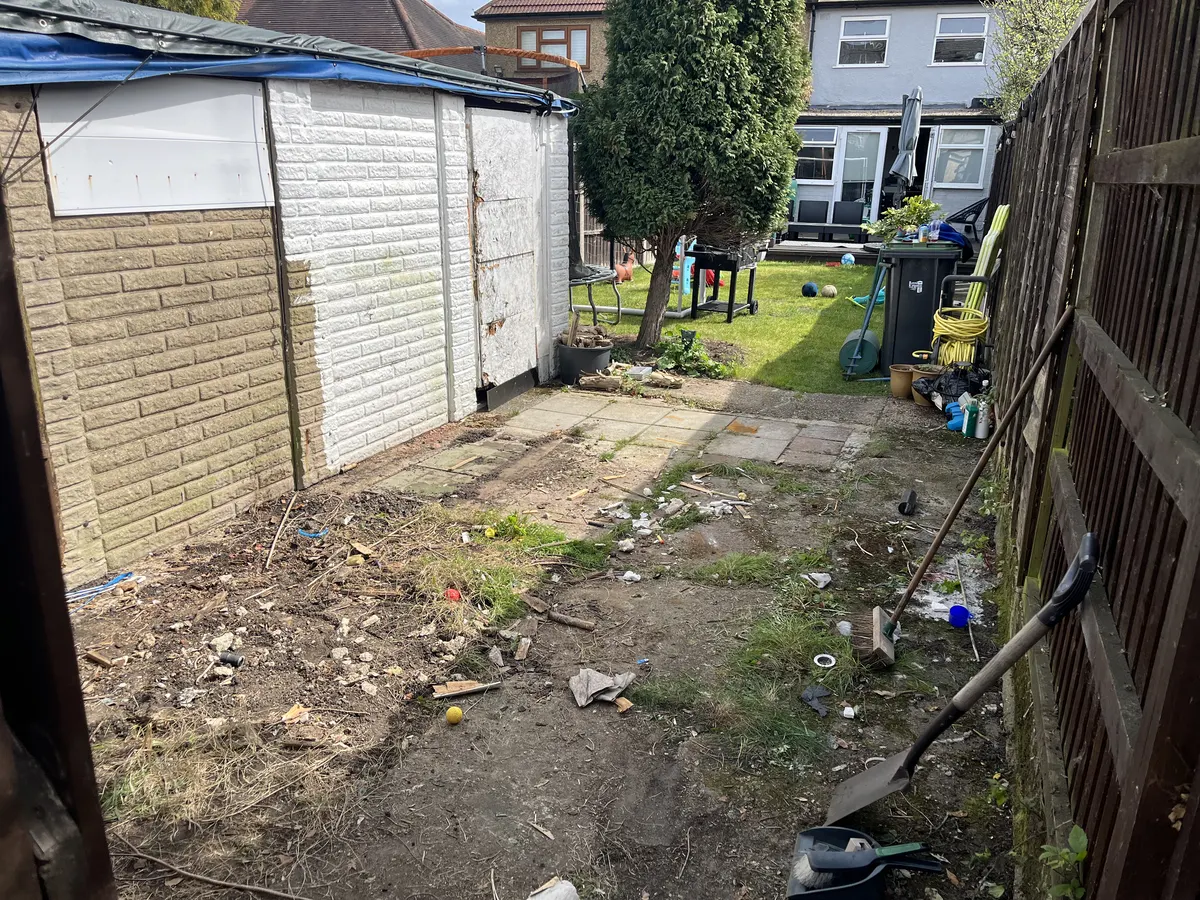
At the bottom of our garden was an old garage that was falling apart. The roof was asbestos, and by the end it was being held together with a tarp. I wanted a proper home office, so the garage had to go.
This is how I replaced it with an insulated log cabin home office with a shed built onto the side, and built it on my own between April and August.
Getting rid of the asbestos garage
Asbestos isn’t something to take on yourself, so I got a specialist company in. They safely removed the asbestos roof (with the proper hazardous waste paperwork), took down the frame, doors and windows, demolished the rest of the garage and took everything away.
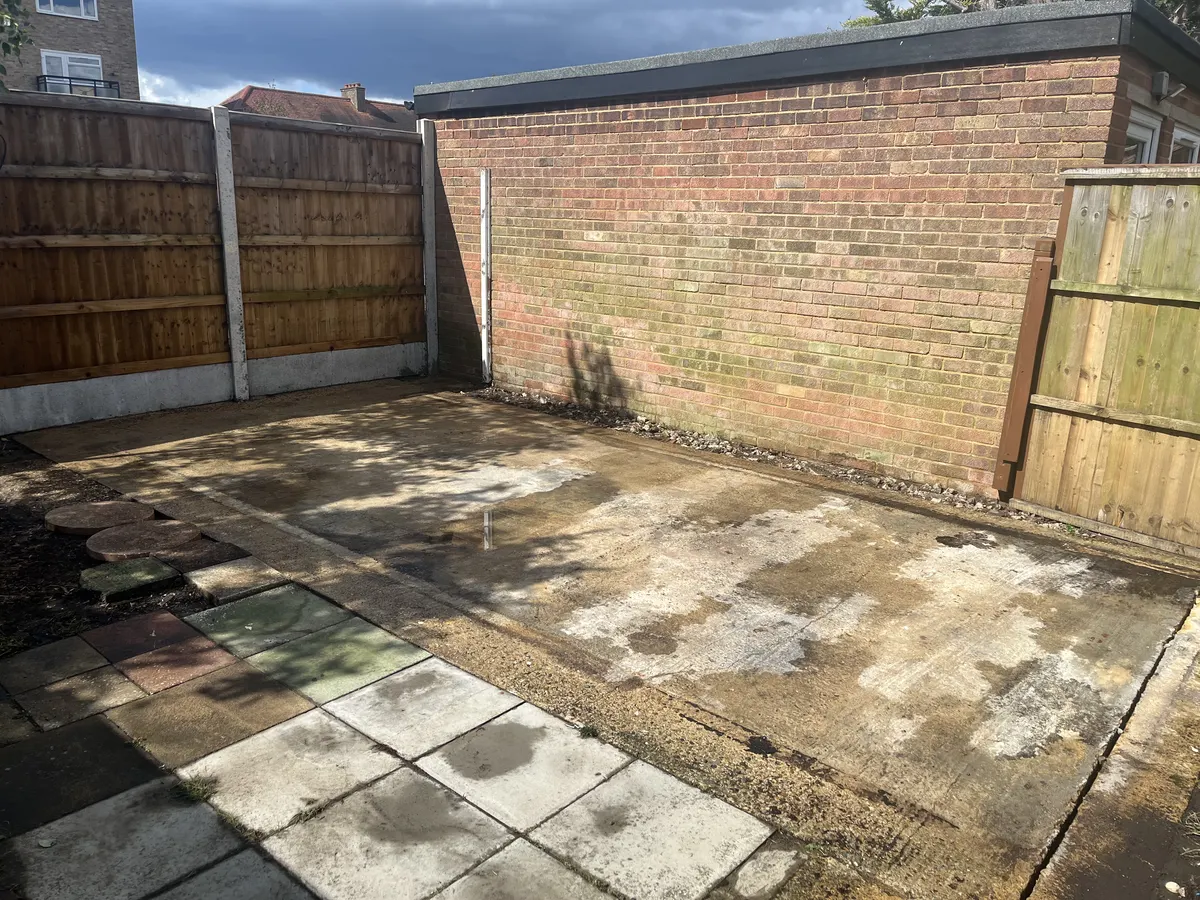
What it left behind was the useful bit: the garage’s concrete slab, which became the base for the cabin.
The cabin
I went for a Dunster House EvilAmy, an insulated log cabin with uPVC doors and windows and a side store. It’s really two buildings joined together:
- The main room is a Warmalog cabin, which uses thicker 62mm wall logs for better insulation. Inside it’s about 3.7m by 2.7m, a little over 10 square metres, which is plenty for a desk and more.
- The side store is a separate 1.5m by 3m shed with thinner 45mm logs and its own door. It’s where the garden and tool stuff lives, so none of it ends up in the office.
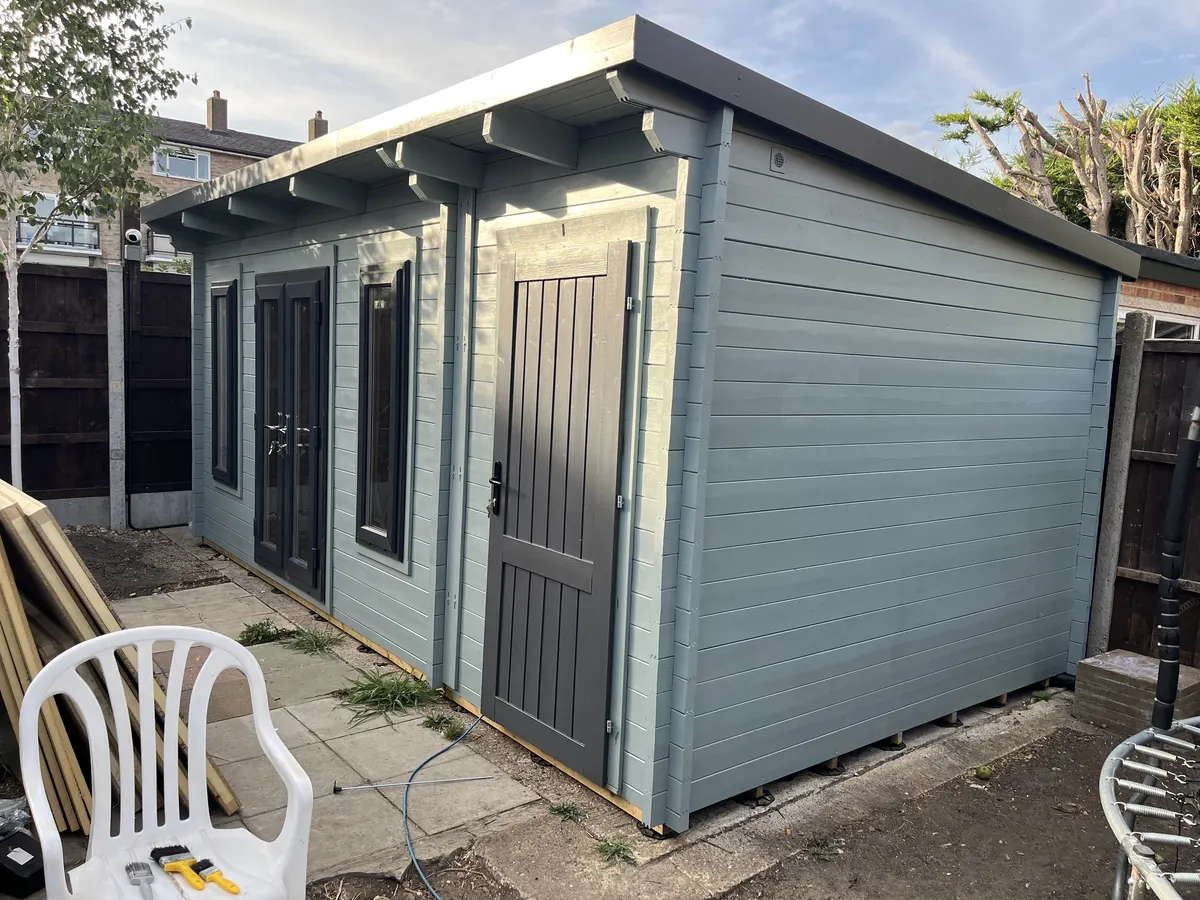
- Overall it’s about 5.5m by 3.4m, with a pent roof (a single slope) that sits under 2.5m at the highest point.
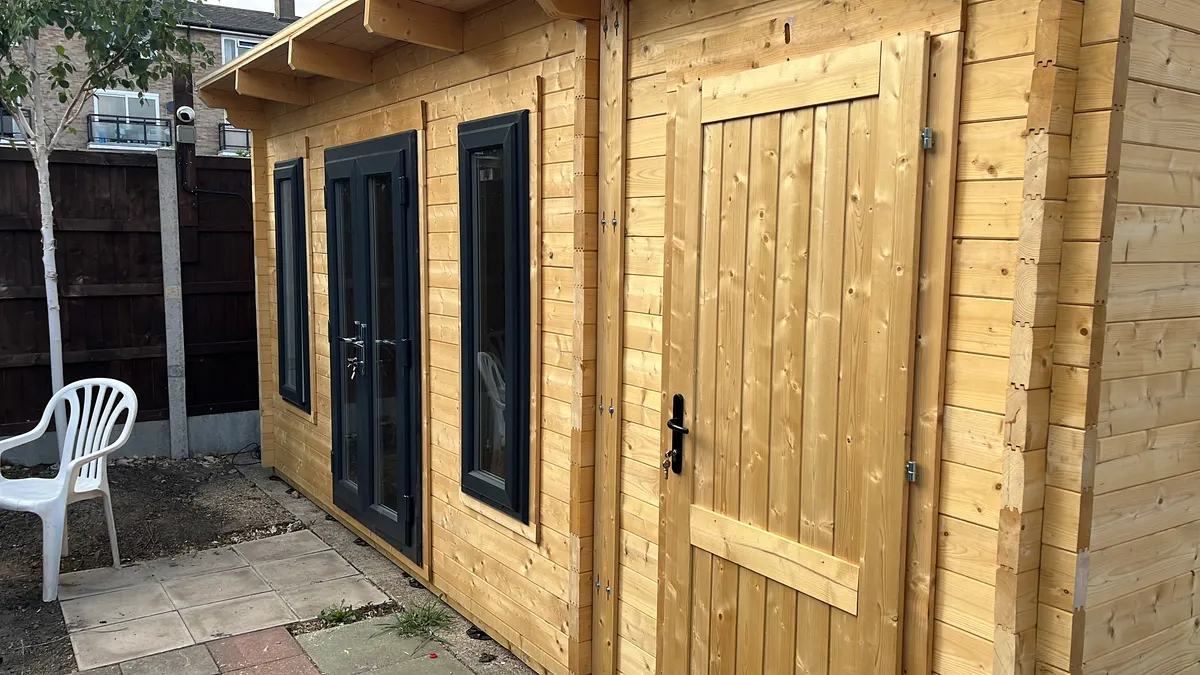
The main room has uPVC double doors and two tall windows, with a six point lock on the doors.
Joining the two buildings is cleverer than it sounds. Because the walls are different thicknesses, a set of joining boards with spacers bolts the two together at the front and back. The bolts are only finger tightened once the walls are up, so the timber can still move up and down naturally as it swells and shrinks with the weather, while the joint stays tight side to side.
The base: the hardest part
Instead of pouring a new base, I reused the garage slab and sat the cabin on adjustable plastic feet under the joists. Every foot can be wound up or down, so the floor ends up dead level even though the old concrete isn’t.
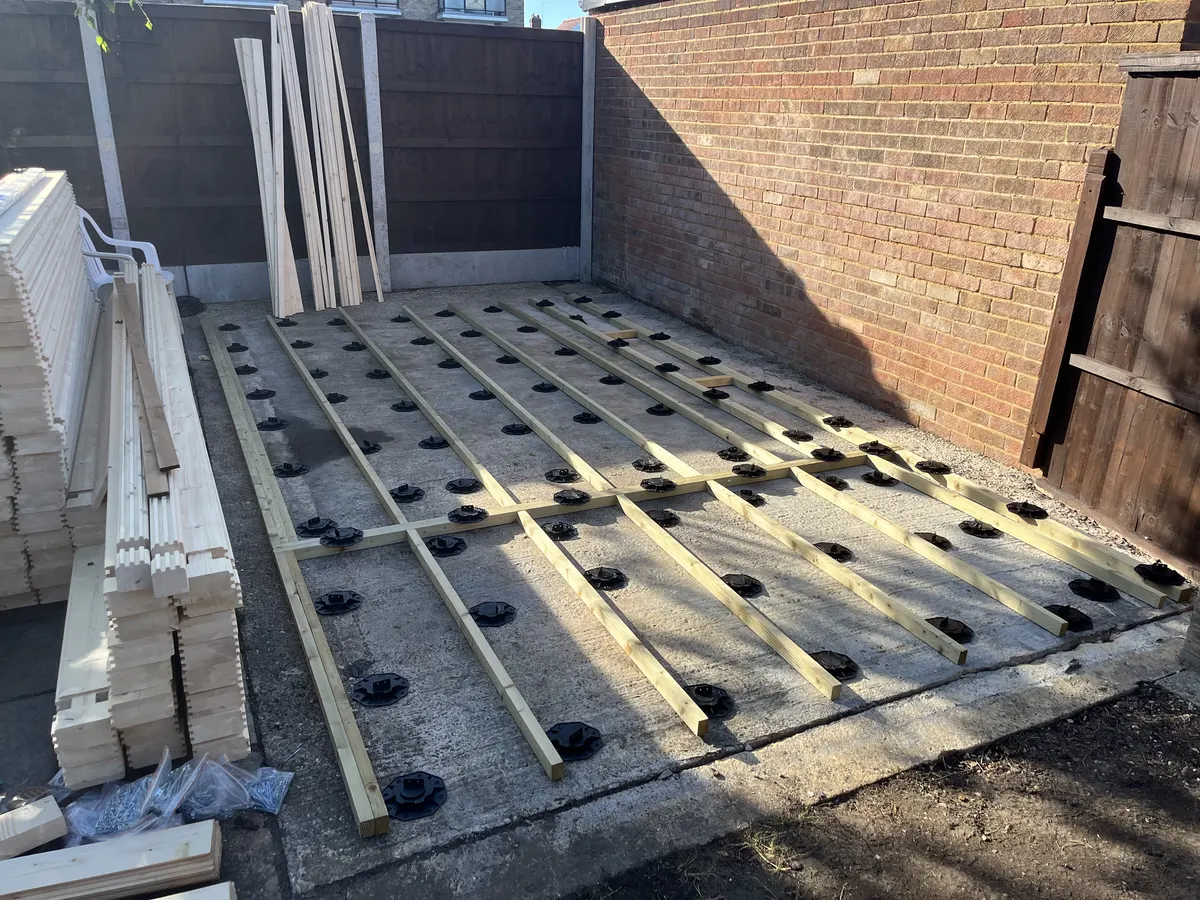
This was easily the hardest part of the build. There are a lot of feet, and each one affects the ones around it, so it’s a slow job of adjusting, checking with the level, and adjusting again. But it’s worth every minute. A log cabin is only as good as its base: if the base is out, the walls go out, the doors and windows won’t sit right, and you’re chasing the problem all the way up to the roof.
Walls up
Once the base was right, the walls went up quickly. Log cabins go together like a giant kit: each log slots onto the one below, and the corners interlock.
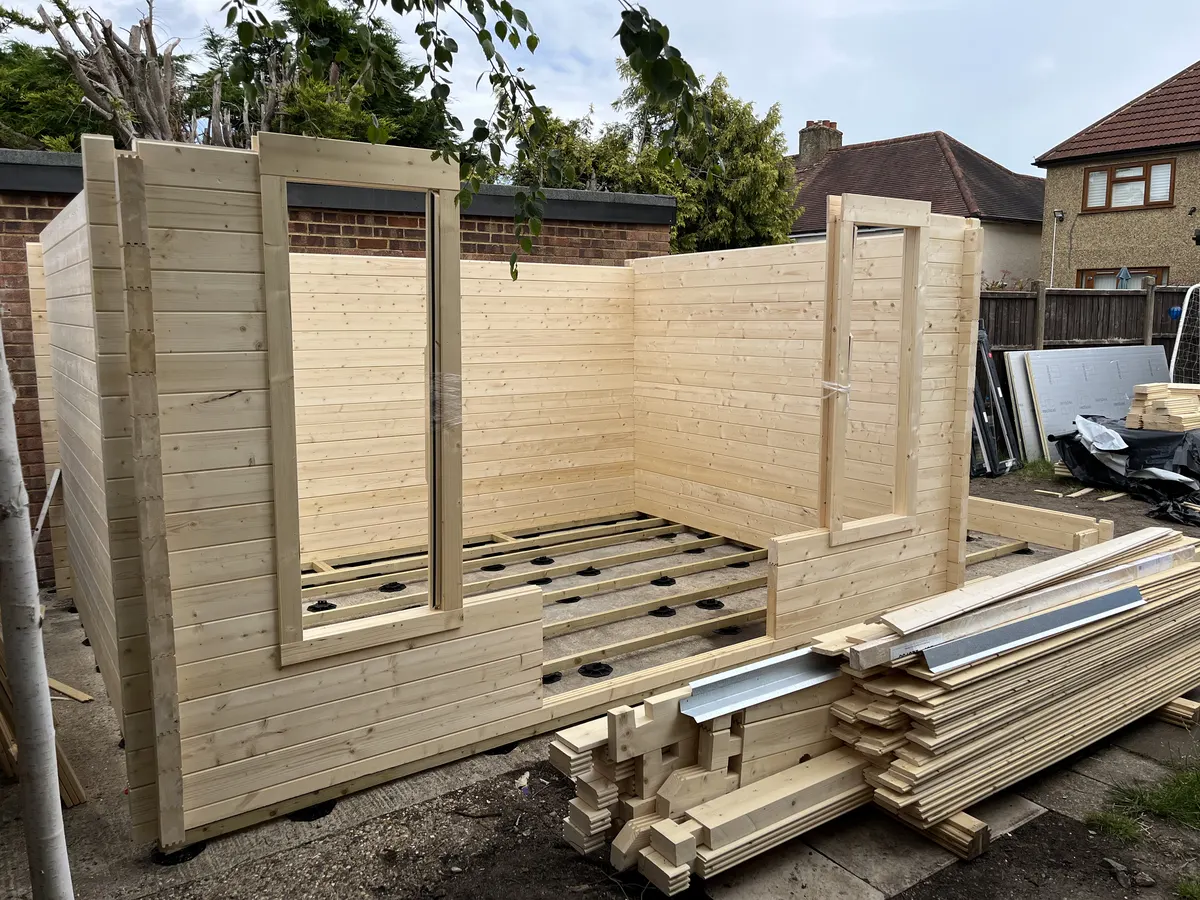
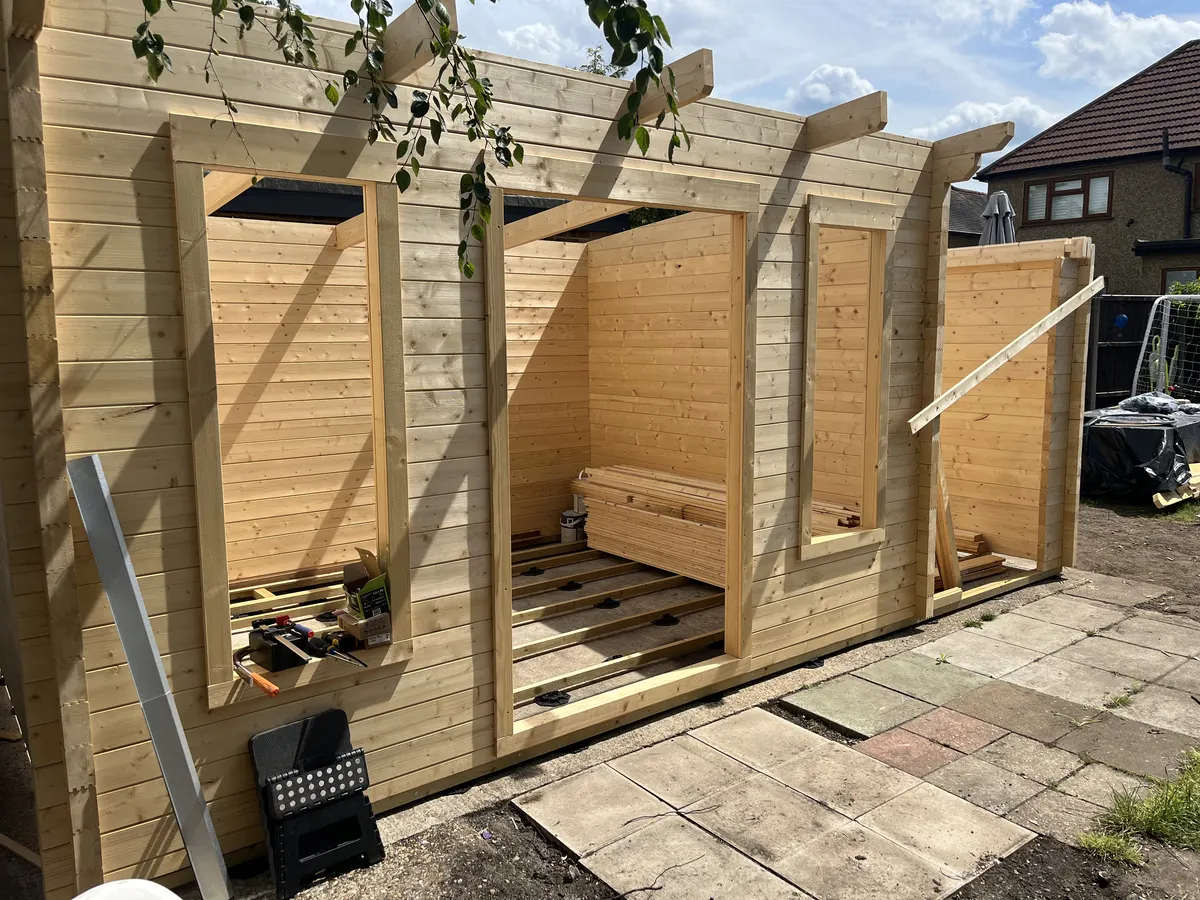
Building it on my own was the other big challenge. There’s nobody to hold the other end, so the heavy and awkward pieces all take longer. I built it in the evenings and at weekends around work, and from the base going down to the doors going in took about six weeks. For comparison, the kit says two days for two people.
Roof, doors and windows
Next came the roof beams, then the roof boards, then the uPVC windows and doors.
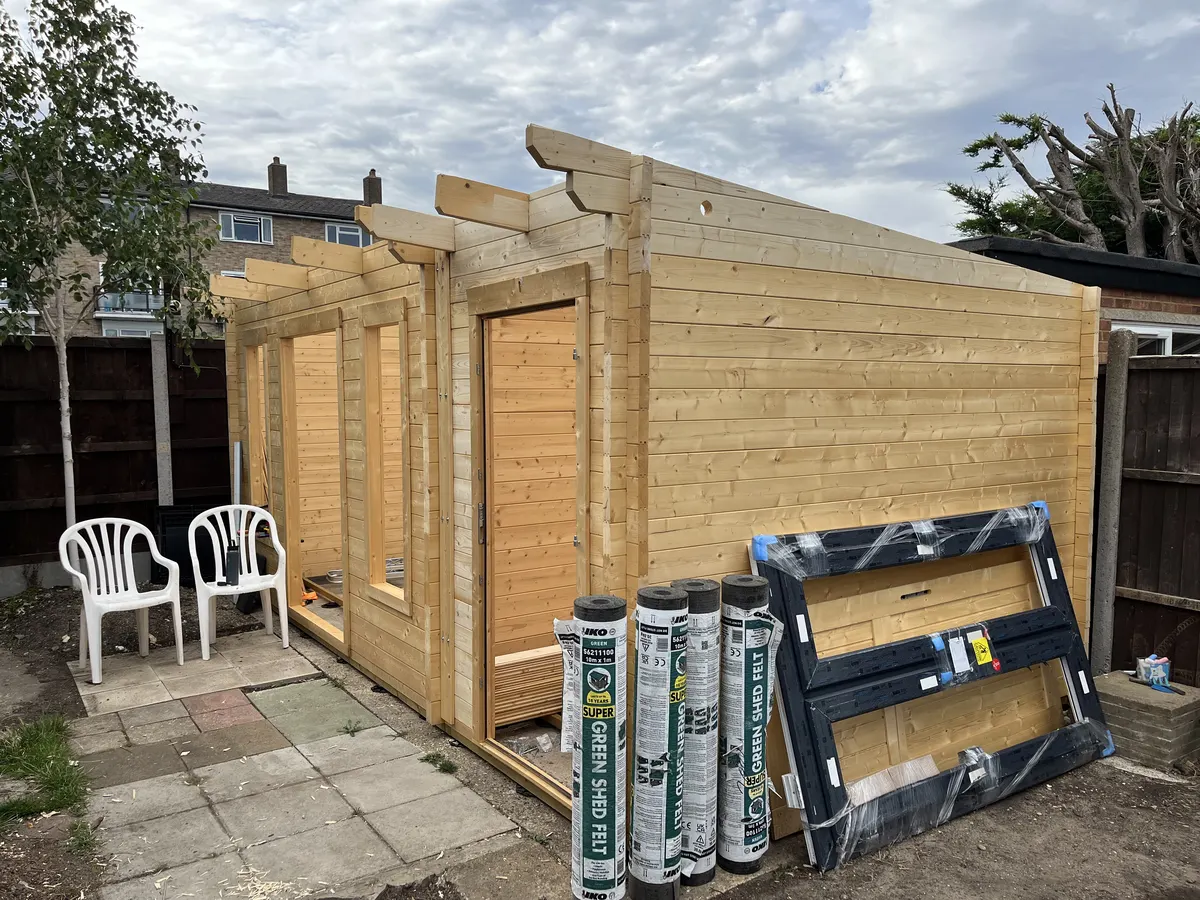
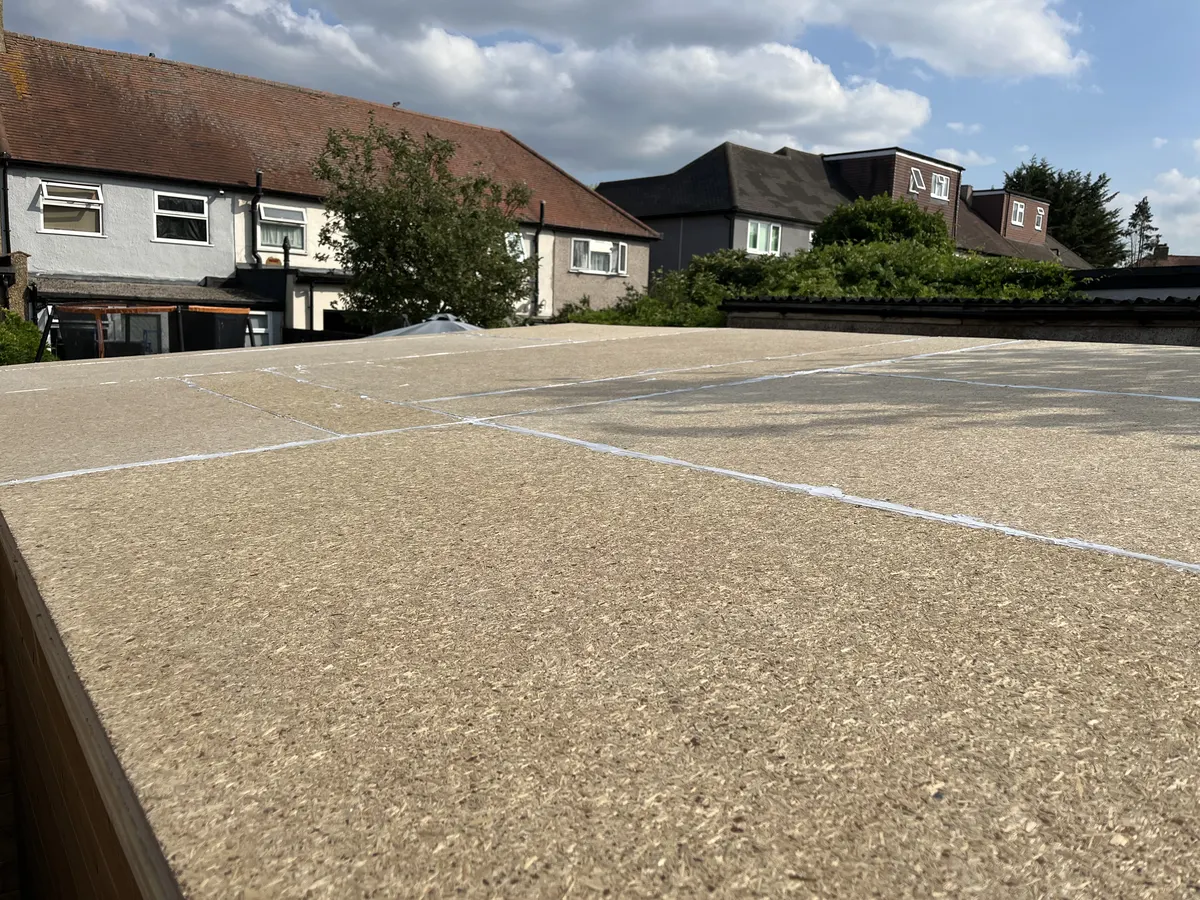
The roof is finished with shed felt, and the pent roof has guttering along the back edge to take the rain away.
Making it a proper office
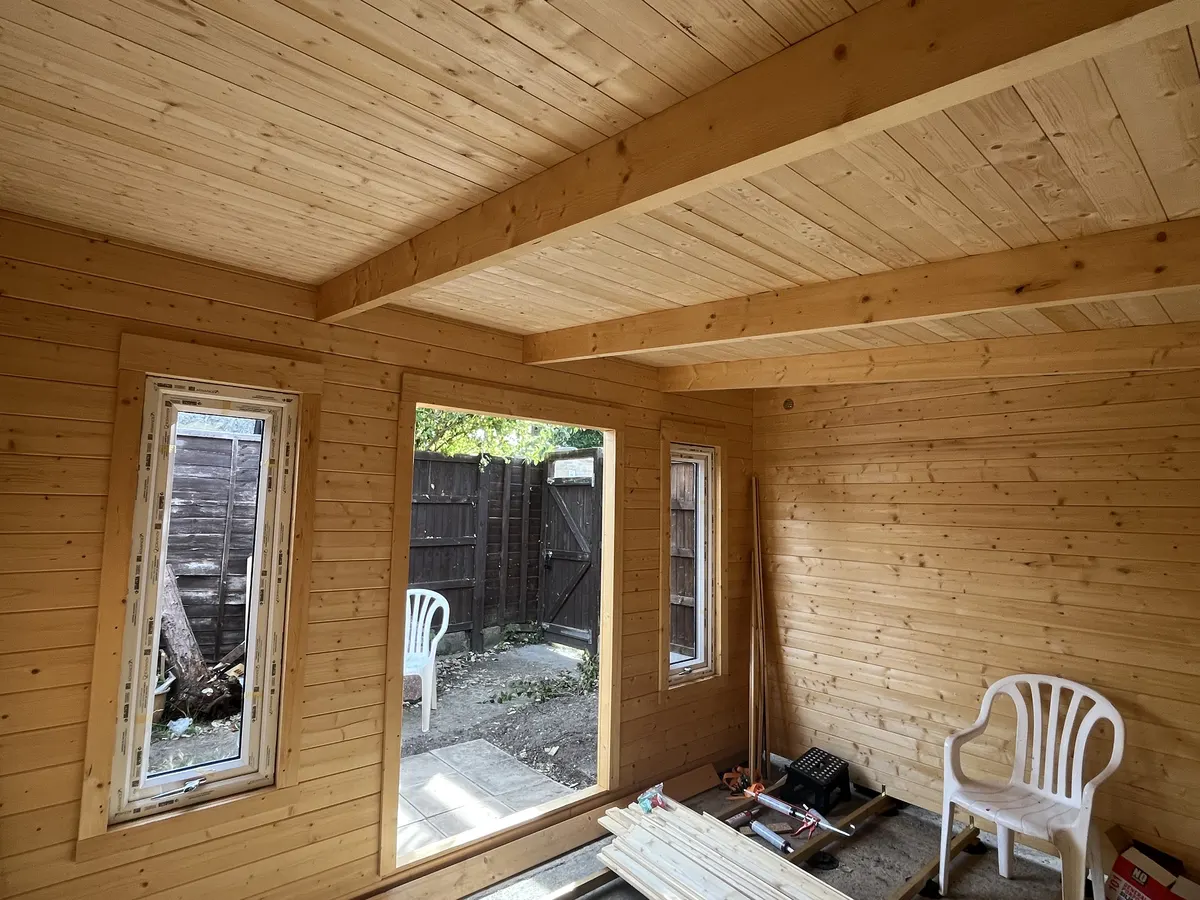
A shed with a desk in it isn’t an office. To make it somewhere I can actually work all year round, I added:
- Insulation, on top of the thicker Warmalog walls.
- Electrics, with power run out to the cabin.
- Networking, so it’s properly connected for work.
- Heating and air conditioning, so it’s usable in the middle of winter and the middle of summer.
I’ve also filled it with sensors and automations, all running through Home Assistant. That’s a whole post of its own: making my cabin office smart with Zigbee2MQTT.
The finished cabin
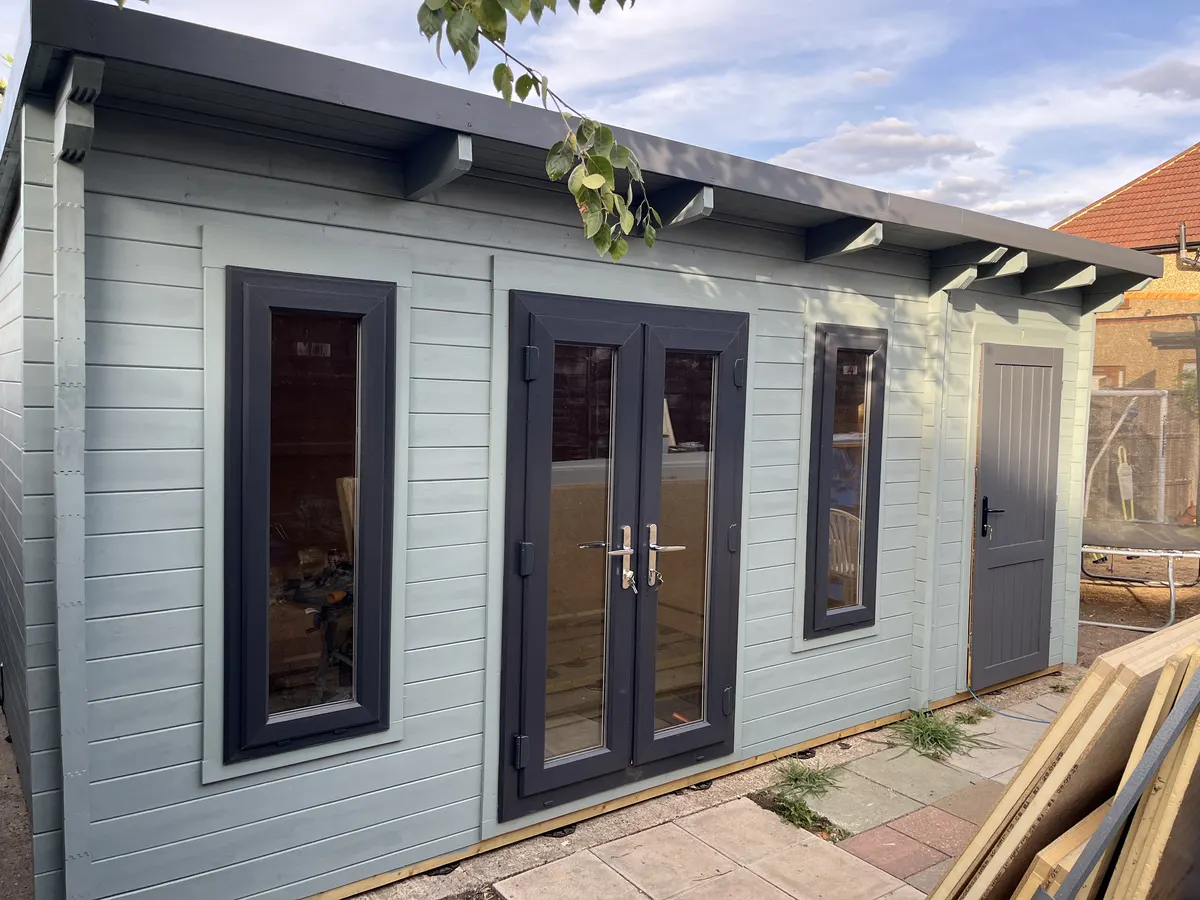
The last job was paint. The walls are a pale blue grey, with the doors, windows, trim and roof edge in a dark charcoal grey.
What I thought of the kit
Overall I’m happy with it, but there were a couple of niggles:
- The instructions weren’t always clear. There are separate manuals for the main cabin, the side store, joining the two, and the guttering, and working out how they fit together isn’t always obvious. Read them all before you start, not as you go.
- Some of the inner uPVC door mouldings were warped or cracked. It’s worth checking every uPVC part as soon as it arrives, so you can get replacements sorted before you need them.
Tips if you’re building one
- Get the base perfect. Take your time, check it again, then check it once more. Everything else depends on it.
- Asbestos is a job for the professionals. Get it removed properly with the right paperwork. Don’t try to take it apart yourself.
- Check every part when it arrives, especially the uPVC doors and windows, not when you get to that step.
- Plan the power and network before the walls go up. It’s much easier to plan where cables come in before everything is built and painted.
- Allow far longer than the kit says, especially if you’re on your own.
From a falling down asbestos garage to an insulated, connected home office, built on my own. It was hard work, but worth it.
More projects
total 11